
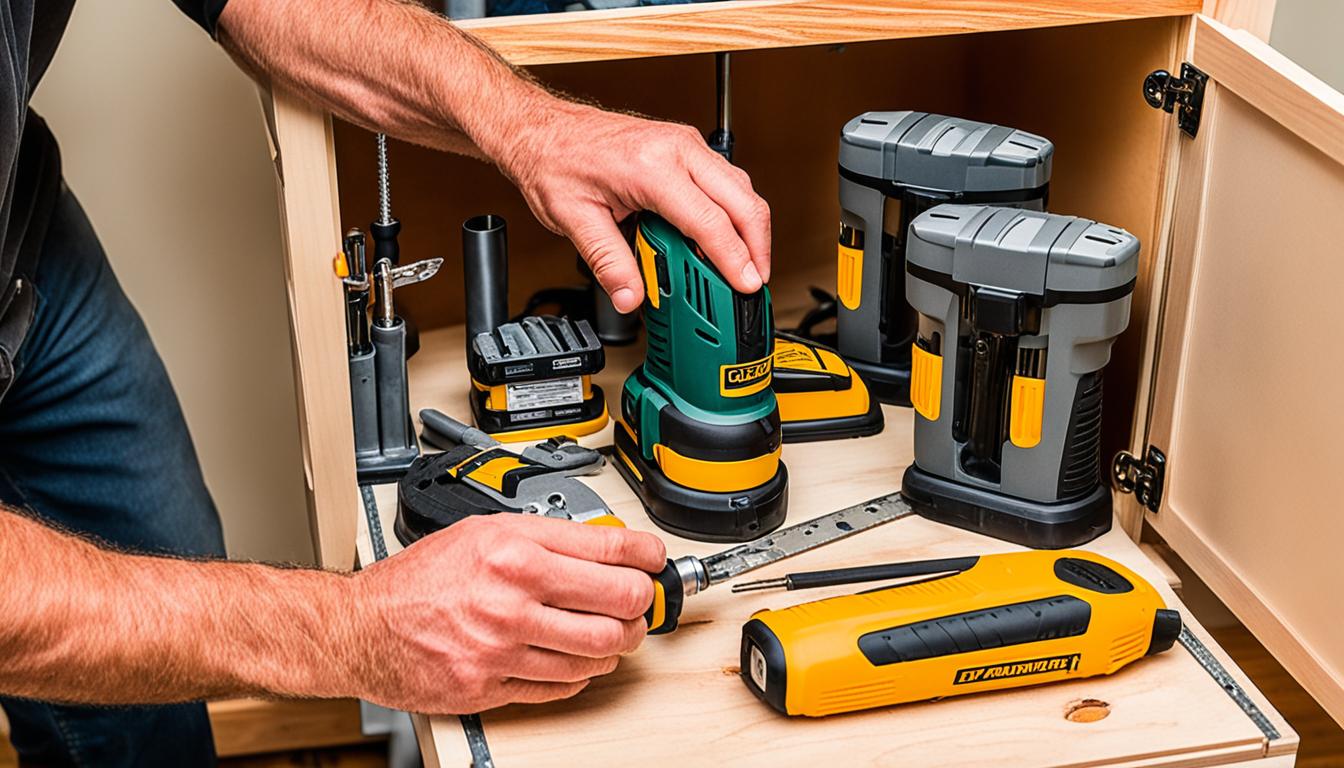
How to Install Lazy Susan in Corner Cabinets
Transforming an awkward kitchen corner into a practical storage area is simple with a Lazy Susan. At US Kitchen Cabinet, we understand how essential it is to maximize your kitchen space. This guide will help you install a Lazy Susan in your corner cabinets, making your kitchen more organized and accessible.
What is a Lazy Susan and Why Install One?
A Lazy Susan is a rotating shelf system designed specifically for corner cabinets, allowing you to easily access items that are typically hard to reach. This setup is ideal for utilizing kitchen corners that would otherwise be wasted space.
Why Choose a Lazy Susan?
- Maximizes corner space by utilizing the full depth of the cabinet.
- Improves accessibility to items stored in the back.
- Enhances kitchen organization by keeping everything in its place and within reach.
At US Kitchen Cabinet, we offer a variety of Lazy Susan cabinets that not only enhance functionality but also blend seamlessly with your kitchen’s style.
Preparing for the Installation: Tools and Setup
Before you start, make sure you have everything you need. Proper preparation will save you time and ensure a smooth installation.
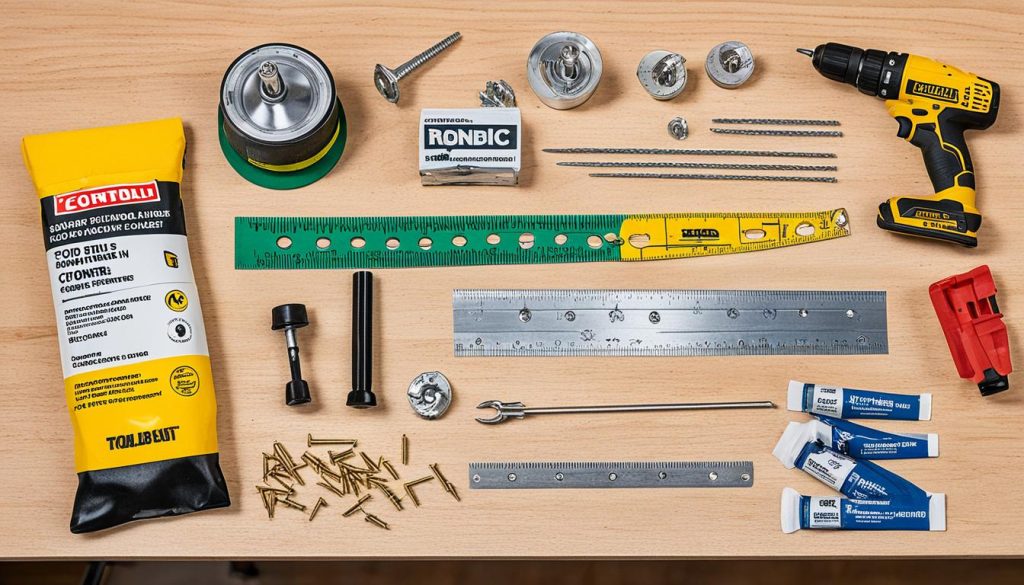
Gather Your Tools
- Level: To ensure your cabinet is perfectly horizontal.
- Measuring Tape: For precise measurements.
- Drill: To create holes for screws and secure the cabinet.
- #8 Screws: To attach the cabinet to adjacent surfaces.
- Shims: To level the cabinet if the floor or walls are uneven.
- C-clamps: To hold cabinets in place during installation.
Having these tools ready will make the installation faster and easier.
Step 1: Measuring and Assessing Your Corner Space
Accurate measurements are the foundation of a successful installation. Begin by measuring your corner cabinet and ensuring that the space is suitable for a Lazy Susan.
How to Measure Your Space
- Check Corner Angles: Use a measuring tape or an angle finder to ensure the corner is square (90 degrees). If it’s not, you may need to adjust the cabinet or use shims during installation.
- Measure Cabinet Depth: Most base cabinets are 24 inches deep. Your Lazy Susan should be 2 to 4 inches smaller than the cabinet’s depth to allow for smooth rotation.
- Account for Wall Irregularities: If your walls have any bumps or curves, you might need to adjust the cabinet placement slightly to ensure a snug fit.
By addressing these factors, you can avoid common pitfalls and ensure a perfect fit for your Lazy Susan.
Step 2: Choosing the Right Lazy Susan for Your Cabinet
Selecting the right Lazy Susan ensures that you make the most of your kitchen space. The Lazy Susan should fit well within your cabinet without hitting the walls or doors.
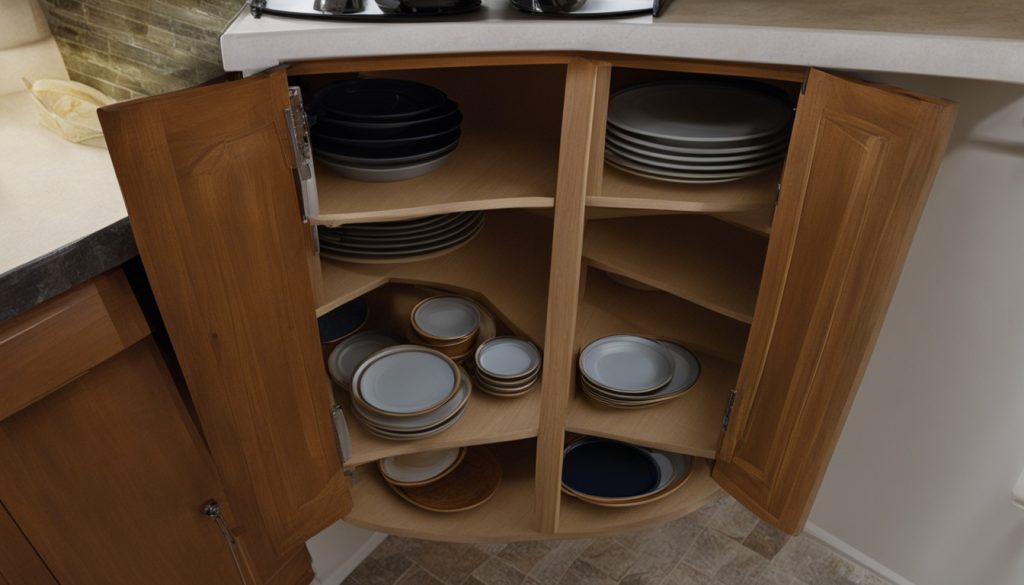
Recommended Lazy Susans Based on Cabinet Type
| Cabinet Type | Lazy Susan Shape | Best For |
|---|---|---|
| Corner with double folding doors | Kidney shape | Maximizing corner space |
| Regular corner or standard cabinet | Full circle | Versatile use |
Make sure to choose a Lazy Susan that fits the depth of your cabinet and aligns with your kitchen’s layout. For more options, explore our Pre-Assembled Cabinets.
Step 3: Installing the Lazy Susan in Your Corner Cabinet
Here’s a step-by-step guide to make the installation process straightforward to follow.
Easy Installation Steps
- Position the Cabinet: Place your cabinet in the corner and use a level to ensure it’s perfectly horizontal. Adjust with shims if needed.
- Secure the Cabinet: Once the cabinet is level, use your drill to create pilot holes through the cabinet into the adjacent walls or cabinets. Secure it with #8 screws.
- Install the Lazy Susan: Follow the manufacturer’s instructions to attach the rotating trays inside the cabinet. Most Lazy Susans come with a central post and rotating trays that are easy to install by following the step-by-step guide included.
Tips for a Smooth Installation
- Get a Helping Hand: Having someone assist you can make the installation more precise and prevent mistakes.
- Use C-clamps: These will hold the cabinet in place while you secure it, ensuring it doesn’t shift during installation.
- Double-check Alignment: Before fully securing the cabinet, ensure it is still level and properly aligned.
For more detailed instructions on installing specific types of Lazy Susans, visit our guide on How to Install a Lazy Susan Corner Cabinet.
Step 4: Aligning and Securing the Lazy Susan Cabinet
Proper alignment and secure attachment are crucial for the functionality of your Lazy Susan.
Final Alignment and Securing
- Ensure Leveling: Double-check that the cabinet is still level after all screws are in place.
- Secure the Cabinet: Attach the cabinet securely to the adjacent units and the wall, ensuring it won’t shift over time.
By taking the time to align and secure the cabinet correctly, you ensure that your Lazy Susan operates smoothly and lasts for years.
Step 5: Finishing Touches and Troubleshooting
After installation, make final adjustments to ensure everything works perfectly.
Adjusting the Mechanism and Doors
- Fine-tune the Lazy Susan: Adjust the central post or trays if they are not rotating smoothly.
- Align the Cabinet Doors: Ensure the cabinet doors open and close without obstruction. Adjust the hinges if necessary.
Common Troubleshooting Tips
- If the Lazy Susan doesn’t rotate smoothly: Check if it’s level and if any screws are too tight.
- If the doors don’t align properly: Loosen the hinges slightly, adjust, and retighten.
If you encounter any persistent issues, consult the manufacturer’s instructions or consider professional help to ensure everything functions as it should.
Conclusion
Installing a Lazy Susan in your corner cabinets is a smart way to maximize your kitchen’s storage and accessibility. At US Kitchen Cabinet, we provide high-quality products and expert guidance to help you every step of the way.
For more kitchen storage solutions, check out our Kitchen Cabinets section and discover options that best suit your needs.