Blog

How to Install European Style Cabinets: A Step-by-Step Guide

Facebook
Twitter
LinkedIn
Pinterest
WhatsApp
How to Install European Style Cabinets

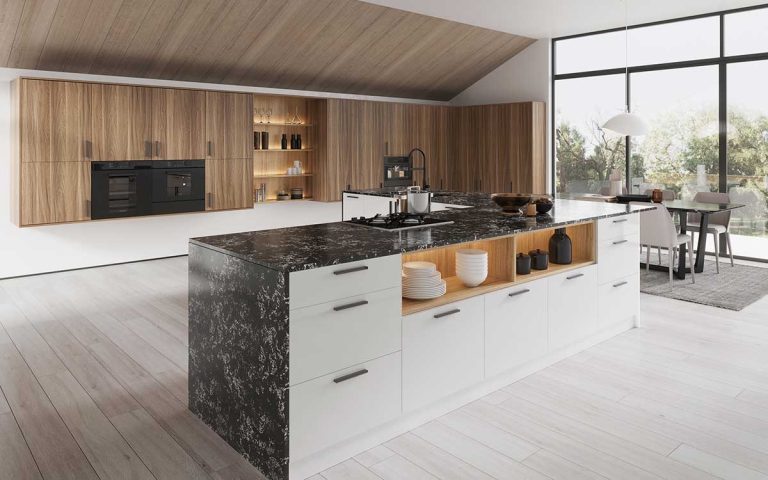
Installing European-style cabinets, also known as frameless cabinets, can be a bit different from traditional framed cabinets due to their design. European cabinets are sleek, and modern, and often require more precision for a seamless look. If you’re up for a DIY project or just want to know what to expect when hiring a professional, here’s a step-by-step guide on how to install them.

Tools and Materials You’ll Need:

  • Measuring tape
  • Level
  • Pencil or chalk
  • Drill and screws
  • Cabinet mounting screws (usually provided with the cabinets)
  • Cabinet clamps
  • Shims
  • Stud finder
  • Cabinet hanging rail (optional but useful for aligning multiple cabinets)
  • Screwdriver

Installing the Euro Style Cabinets

Below is the step by step guide to installing the Euro Cabinets.

Step 1: Measure and Plan the Layout

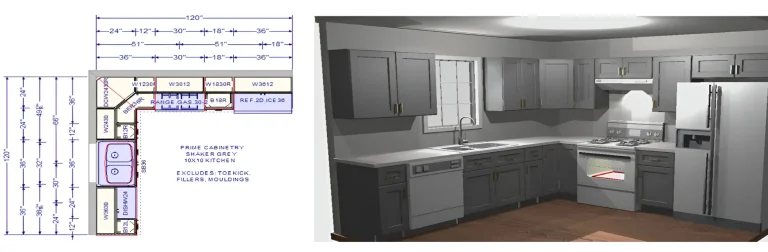
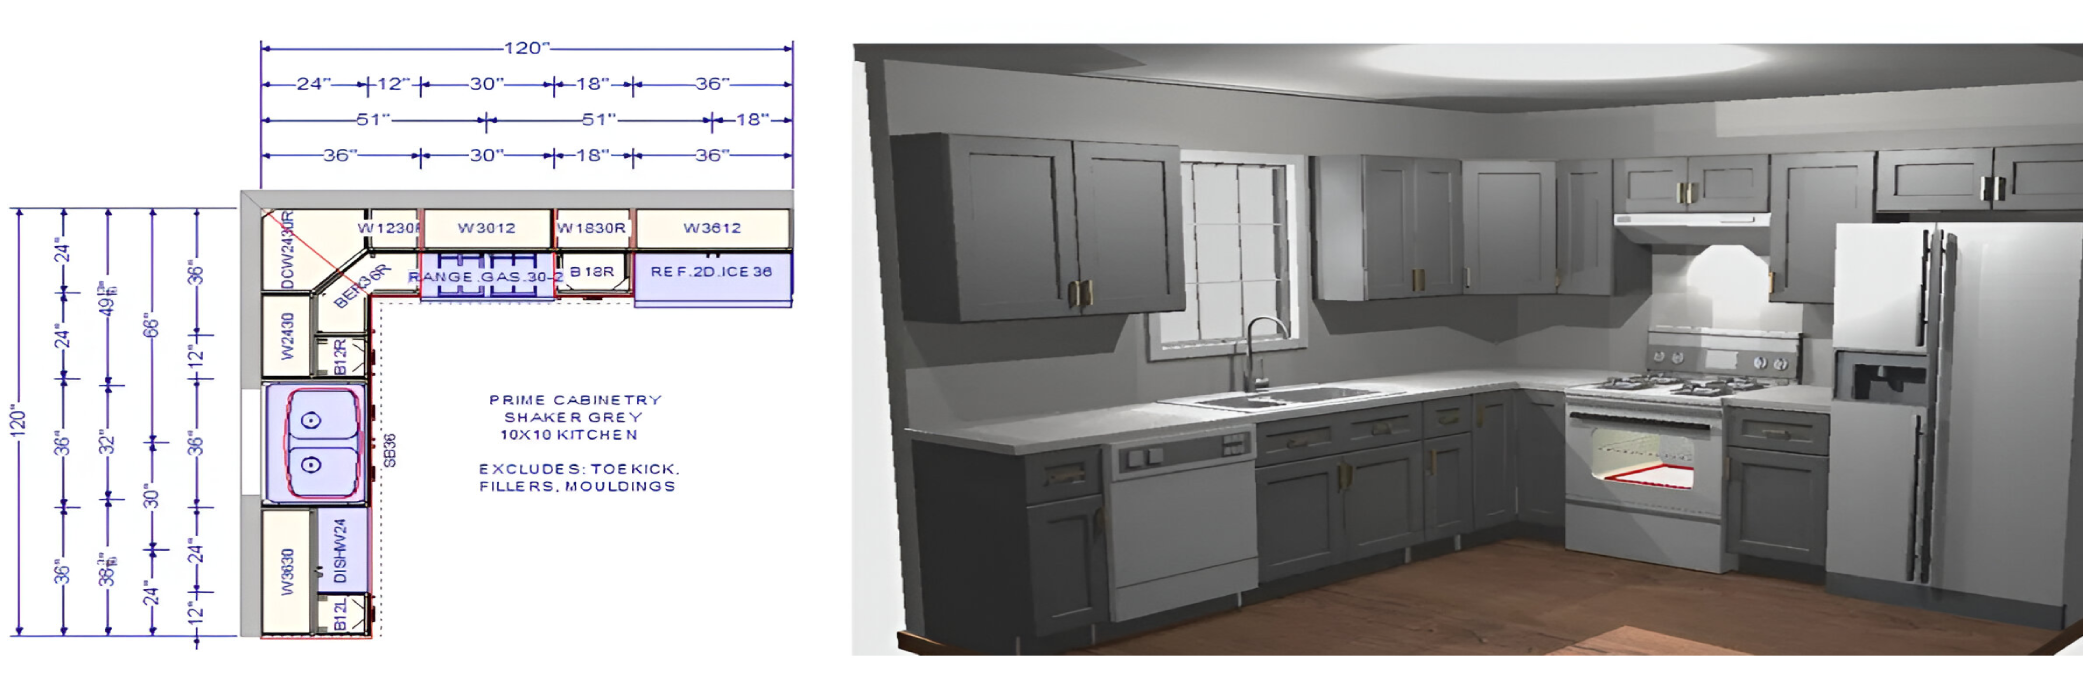
Before installation, measure your kitchen or the space where the cabinets will be installed. Use your kitchen design plans or cabinet layout to mark where each cabinet will go.

  • Mark the Studs: Use a stud finder to locate the wall studs. Mark their locations on the wall where your upper and base cabinets will be mounted. Studs should be 16-24 inches apart, and the cabinet screws should be driven into these studs for secure support.
  • Mark Horizontal Lines: Use a level to draw a horizontal line across the wall for the base cabinet height (usually around 34.5 inches from the floor). Draw another line for the bottom of the upper cabinets (typically 18-20 inches above the base cabinets).

Step 2: Install the Upper Cabinets First

It’s generally easier to install upper cabinets before base cabinets because you’ll have more room to work. Here’s how:

  • Support Rail Installation (Optional): Install a temporary support rail at the bottom of where your upper cabinets will go. This will help hold the cabinet in place as you secure it to the wall.
  • Align the First Cabinet: Position the first upper cabinet against the wall, aligning it with the level line you marked earlier. Use shims if needed to ensure the cabinet is level.
  • Secure to the Wall: Drill pilot holes through the cabinet’s back panel into the studs. Then, use cabinet screws to securely fasten the cabinet to the wall. Make sure it’s level and adjust if necessary before tightening the screws fully.
  • Join Multiple Cabinets: When installing multiple cabinets, use cabinet clamps to hold them together. Drill small pilot holes between the cabinets to join them with screws. This will create a seamless, unified look.
  • Check for Leveling: After installing all the upper cabinets, check their alignment and make sure they are level both horizontally and vertically. Use shims where needed to adjust them.

Step 3: Install the Base Cabinets

How to Install European Style Cabinets
How to Install European Style Cabinets: A Step-by-Step Guide 1

Now that the upper cabinets are installed, move on to the base cabinets.

  • Place the First Base Cabinet: Position the first base cabinet in its designated spot, aligning it with the level line you drew earlier. Use shims under the cabinet to ensure it’s level with the floor.
  • Secure to the Wall: Drill pilot holes through the back of the cabinet into the studs and screw the cabinet into place. Be sure to leave the screws slightly loose at first in case you need to adjust the cabinet’s position.
  • Join Base Cabinets Together: For multiple base cabinets, repeat the same process as with the upper cabinets—using clamps to join them, drilling pilot holes, and screwing them together.
  • Level and Secure: Once all the base cabinets are joined and aligned, check for level again. Adjust with shims as needed, and tighten all the screws when satisfied with the leveling.

Step 4: Attach Doors and Hardware

Once the cabinets are installed and securely mounted, it’s time to attach the doors and hardware.

  • Install Hinges and Doors: European-style cabinets typically use concealed hinges, which are mounted on the inside of the cabinet. Attach the hinges to the doors and then mount the doors onto the cabinets. Adjust the hinges for proper door alignment.
  • Install Handles or Knobs: If your cabinets come with handles or knobs, now is the time to install them. Measure and mark where you want them on each door, then drill pilot holes and attach the hardware.

Step 5: Install Drawers and Interior Accessories

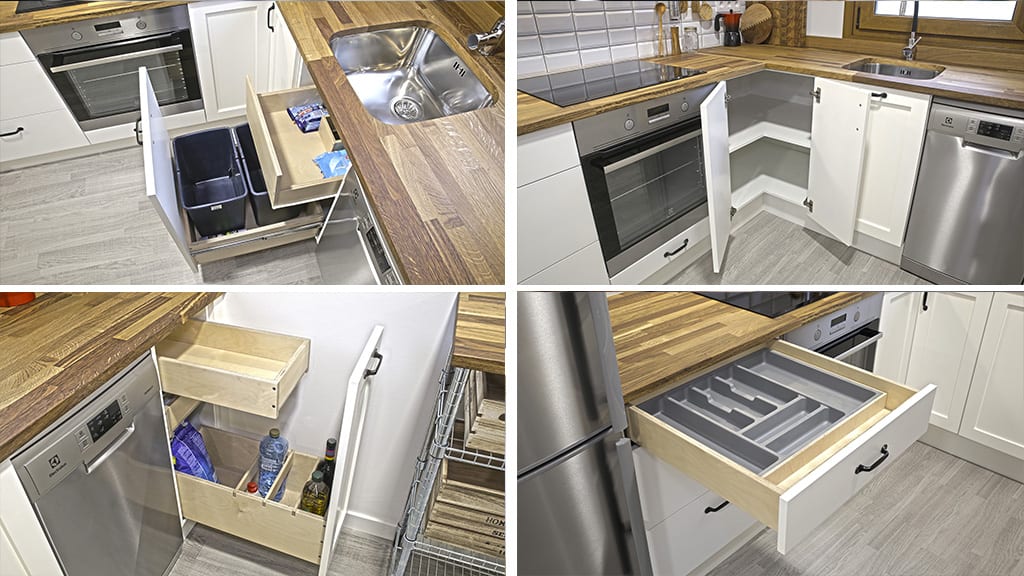
If your European cabinets come with drawers or interior organizers, follow the manufacturer’s instructions to install them.

  • Insert Drawers: Install drawer slides inside the cabinet and attach the drawers to the slides. European-style cabinets often come with soft-close mechanisms, which need to be aligned properly to ensure smooth operation.
  • Adjust Drawer Alignment: After installing the drawers, make sure they are level and align with the cabinet face. Most drawers have adjustment screws on the sides to make fine-tuning easier.

Step 6: Final Adjustments and Clean-Up

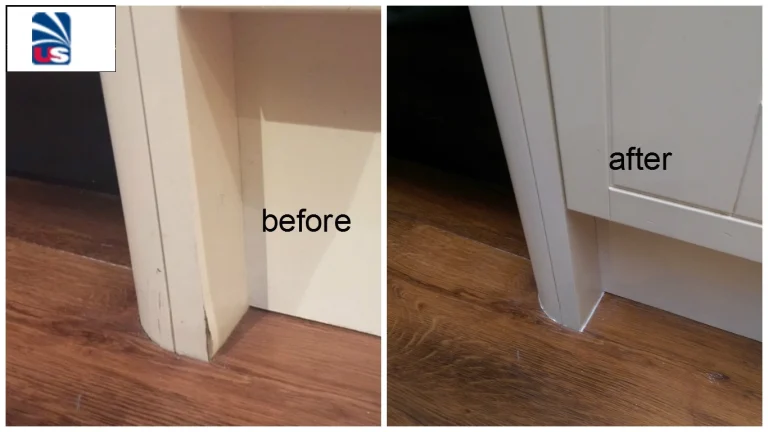
Once all the cabinets, doors, and drawers are installed, go back through and make any final adjustments.

  • Check for Leveling: Ensure all cabinets, doors, and drawers are level and aligned perfectly. Make minor adjustments using hinge adjustments or shims as needed.
  • Clean-Up: Remove any temporary support rails and shims, fill in any visible screw holes with matching wood filler, and clean up the work area.

Tips for Installing European Cabinets:

  • Use a Cabinet Rail for Easier Alignment: Installing a temporary rail where the bottom of your cabinets will go can make the job easier, especially when installing upper cabinets.
  • Work with a Partner: Cabinets can be heavy, especially upper cabinets, so having someone to help hold them in place while you secure them will make the process easier.
  • Double-Check Measurements: Precision is key with frameless cabinets, so always double-check your measurements before drilling and fastening.

Conclusion

Installing European-style cabinets is a great way to create a sleek, modern kitchen, but it requires careful planning and precise installation. By following these steps and paying attention to leveling, alignment, and secure fastening, you can ensure your new cabinets are installed correctly and look great in your kitchen. Whether you choose to DIY or hire professionals, the results will give you the clean, streamlined look characteristic of European cabinetry.

Picture of John Miler
John Miler
John Miller is a seasoned cabinetry expert with over 20 years of experience in the kitchen and cabinetry industry. As the lead consultant for US Kitchen Cabinet, John has helped thousands of homeowners create their dream kitchens with tailored cabinetry solutions. His deep knowledge of wood types, craftsmanship, and design trends makes him a trusted authority in the field. John is passionate about helping customers make informed decisions that blend functionality with timeless beauty.
Shopping cart
Shop
Wishlist
0 items Cart
My account