- (818) 835-5888
- uskitchencabinet@gmail.com
- Free Design
 Skip to content
Installing handles and knobs on Shaker drawer fronts can seem challenging due to the unique design of these cabinets. However, with the right tools and techniques, you can achieve a professional, symmetrical look. At US Kitchen Cabinet, we recommend using the Cabinet Hardware Jig ORIGINAL (TP-CHJ) for precise placement, ensuring that your hardware is aligned and properly positioned.

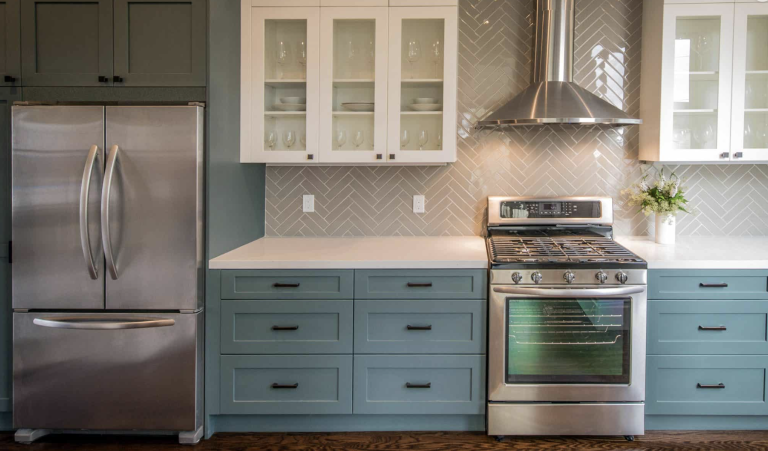
Shaker cabinets are composed of five main parts: the recessed center panel, vertical stiles on both sides, and horizontal rails at the top and bottom. This design creates a clean, classic look, but the recessed panel can make it difficult to accurately mark and drill for hardware placement without the right tools.
Before drilling, consider your options for hardware placement:

Pro Tip: For kitchens with a mix of Shaker and slab drawers, maintain symmetry by placing knobs or pulls on the top ¼ of slab drawers and on the top rail of Shaker cabinets.
Learn about modernizing traditional cabinets in How to Make Oak Kitchen Cabinets Look Modern.

Explore the benefits of using a cabinet hardware jig in How to Choose the Right Cabinet Hinges.
For tips on avoiding common installation issues, see 10 Common RTA Cabinet Problems and How to Fix Them.
Understand the importance of proper hardware selection in How to Choose the Right Cabinet Hinges.
For large or heavy drawers, consider using two knobs or pulls. Divide the drawer into thirds and place the hardware in the center of each section. Alternatively, use an oversized pull that spans at least ⅓ to ⅔ of the drawer’s width.
Installing handles and knobs on Shaker drawer fronts doesn’t have to be intimidating. With the right tools and careful measurements, you can ensure that your hardware is perfectly aligned and adds to the beauty of your kitchen. At US Kitchen Cabinet, we provide the tools and expertise you need to make your kitchen remodel a success. For more tips and high-quality cabinetry, explore our hardware selection and get started on your project today.


